A caulking gun is a simple and essential tool used in almost every home repair or renovation project. Whether you are sealing around windows, filling small cracks or completing bathroom waterproofing, a solid application process makes all the difference in both appearance and durability. Apart from using the right construction sealant, using the right caulk application gun is also important. The tool you choose affects how easily the caulk moves from the tube and how steady the bead looks once applied. The best application guns give you more control, less waste and a cleaner finish overall.
What to Consider?
Thrust Ratio
One of the first things to check is the thrust ratio. This figure refers to how much force is applied to the sealant when you squeeze the trigger. A ratio of 5:1 to 10:1 is fine for light household use, while thicker sealants or professional-grade adhesives may require caulk application guns with a thrust ratio of 18:1 or higher. The higher the ratio, the easier it will be to push out thicker materials without straining your hand.
Design
A comfortable grip and sturdy body are worth paying attention to. Look for strong metal frames rather than flimsy plastic ones. Ergonomic designs make a noticeable difference during long jobs, especially if you need to apply steady pressure for extended periods.
Smooth vs Ratchet Rod
Smooth rod caulking guns offer a continuous and more controlled flow of sealant. Ratchet-style rods, on the other hand, advance the plunger in small steps. Smooth rods are usually quieter and easier to release, while ratchet versions can be cheaper and more adequate for small DIY jobs.
Nozzle Cutter
Many caulk guns include a built-in nozzle cutter near the handle. It allows you to cut off the tip of the caulk tube at an angle for a consistent bead width. If your tool does not include one, use a sharp utility knife instead, as a clean cut affects how easily the sealant flows.
Poker Rod
A poker rod (or seal puncture tool) is a small metal pin used to pierce the inner foil seal of caulk tubes. If the rod is missing, a long nail or wire will do, but an included poker tool saves time and reduces mess.
Revolving Frame
Some advanced caulking guns have a revolving frame that lets the entire cartridge rotate as you move the gun. This feature is useful for corners or difficult angles, keeping the bead straight even when your wrist changes position.
Weight
Keep the weight in mind if you expect to use the gun frequently. Lighter models reduce hand fatigue and allow smoother motion during delicate applications. However, overly light models might vibrate or feel less stable.
Drip-Stop
A drip-stop feature automatically releases pressure on the sealant tube when you stop squeezing. Without it, excess caulk can leak from the nozzle and create unnecessary cleanup.
Types of Caulking Guns
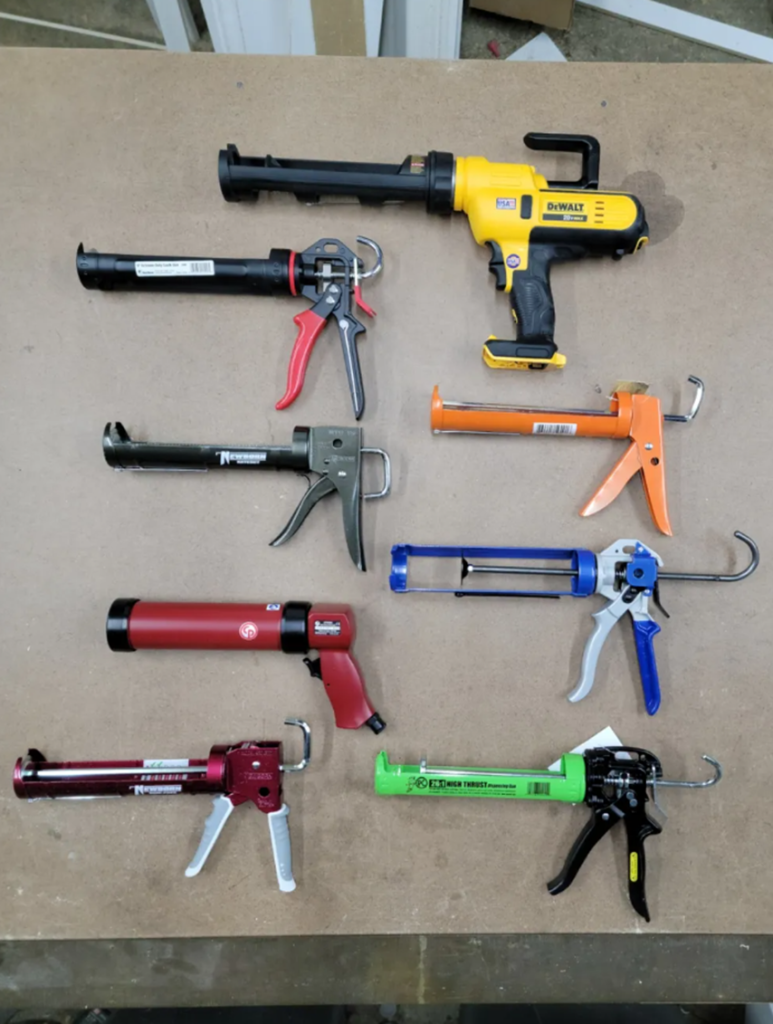
Manual
Manual caulking guns are the most common and affordable type. They rely entirely on hand pressure from the trigger to push the sealant out. Simple mechanical design, easy maintenance and good control make them ideal for most home use. If you browse through a typical caulk gun for sale section in hardware stores, manual models dominate the shelves. They are reliable and effective when used with silicone, acrylic or latex caulk.
Cordless
A cordless caulk gun for sale is battery-powered and provides consistent output without much physical effort. These caulk guns are particularly helpful for larger jobs, commercial use or thick sealants where constant squeezing would be tiring. A push of the trigger delivers smooth and even beads every time. While they cost more upfront, cordless options save time on tricky or extended sealing work.
Using a Caulking Gun
Prepare
Before you start, make sure the surface is clean, dry and free of dust, old caulk or grease. Smooth surfaces help create a tight seal and better adhesion. Tape both sides of the joint if you need sharp, professional-looking edges.
Load
To load a tube, press the trigger release and pull back the plunger fully. Insert the tube into the frame with the nozzle facing outward. Push the plunger tip against the back of the tube until it fits snugly. Cut the nozzle tip at a 45-degree angle to match the gap size and pierce the inner seal using the poker rod.
Adjust
If you are working with a cordless model, choose an appropriate flow speed setting. On manual guns, test the trigger pressure on scrap material to get a feel for the release rate. Too much pressure causes uneven lines, while too little can interrupt the bead.
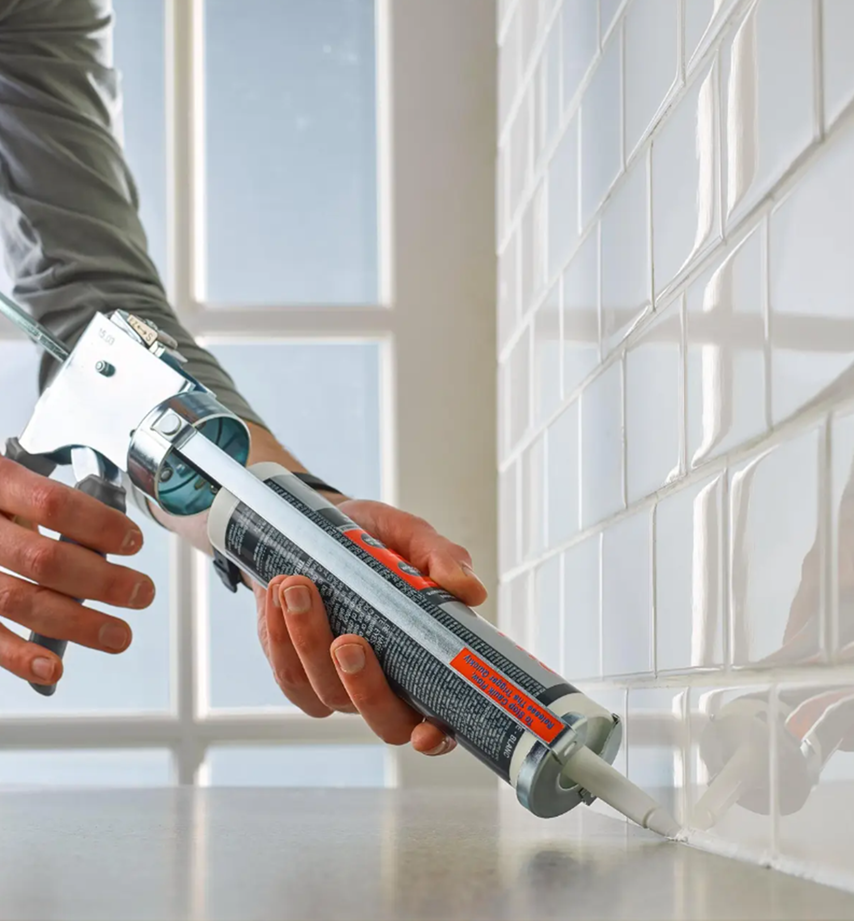
Apply
Hold the nozzle at roughly 45° from the surface and move the gun slowly and steadily. Press the trigger evenly while pulling the gun along the joint. This ensures a smooth, consistent flow. Once done, release the pressure, especially if your gun lacks a drip-stop feature, to prevent leaking. Smooth the caulk line with a wet finger or finishing tool before the sealant starts to dry.